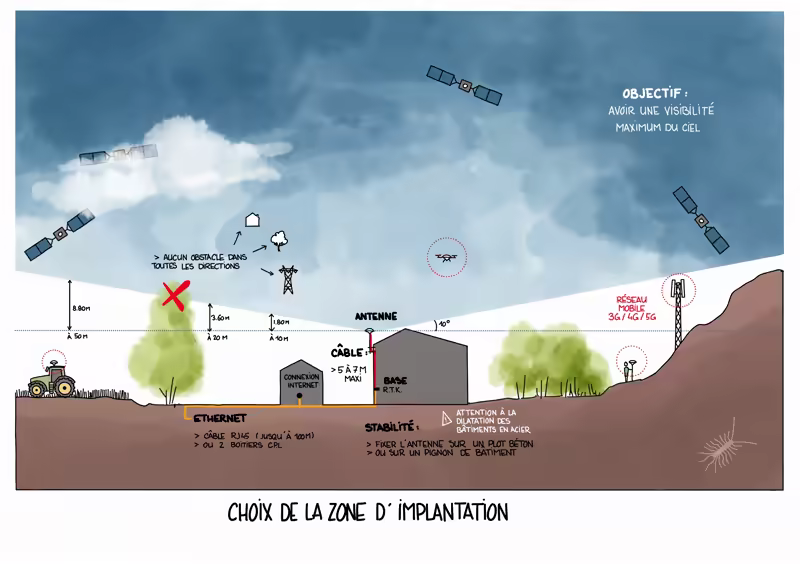
Choosing the Installation Location
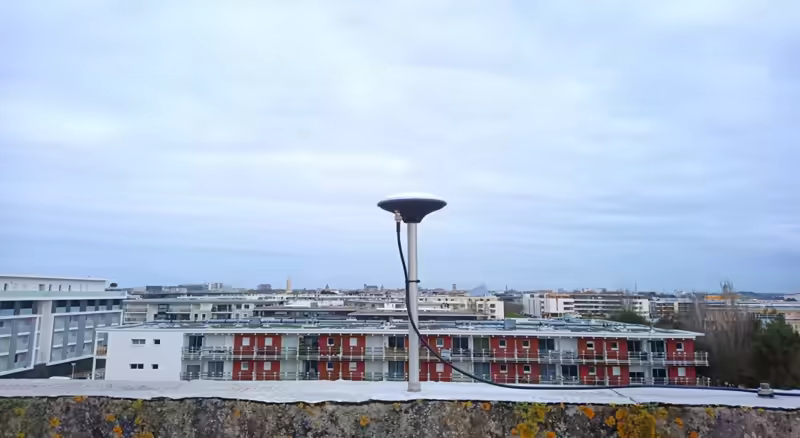
- The installation area for the receiving antenna does not require a dominant position, but it must offer maximum visibility of the sky. It is essential that there are no obstacles (buildings, trees, walls, etc.) above the first 10 degrees relative to the antenna's horizontal plane and in all directions. These 10° correspond to 1.76 meters of height for every 10 meters of distance, which means that an obstacle that rises 8.8 meters above the antenna but is 50 meters away will not be problematic.

The antenna must also be very stable in its position, so it is preferable to mount it on a concrete base or on the gable of a building (be careful with thermal expansion in steel buildings).
There may be some distance between the antenna and the rest of the equipment. It is important to plan this distance in advance and order an antenna cable of the correct length. It is recommended not to exceed 8 to 10 meters. Beyond that, you will need high-quality cable, which will be more expensive and rigid.
The RTK base must have Internet access, preferably via an Ethernet cable (RJ45), in order to share its corrections on the Centipede-RTK network. Therefore, you need an Internet access point near the installation area, and the cable length must be adapted accordingly. Unlike the antenna cable, the Ethernet cable can be longer (up to 100 meters). If you do not have a nearby connection, you can use 2 Powerline adapters (CPL) via Ethernet.
This document: GNSS REFERENCE STATION INSTALLATION AND OPERATION BEST PRACTICES will provide the necessary information to properly plan your installation. This is the most important step when installing a GNSS RTK base.